
VISUAL WARNING
Start with light when the warning can be seen reliably.
Use this direction when personnel normally have a clear view of the warning point.
FACTORY & WORK AREA ALERTING
Use this path when a warning needs to attract attention across a shared work area rather than indicate one machine. Start with what needs attention and how people should notice it.
Identify why people need to be alerted, then choose the most suitable starting warning direction.
STEP 2 — CHOOSE A STARTING DIRECTION
VISUAL WARNING
Use this direction when personnel normally have a clear view of the warning point.
Will the warning stay visible from the positions that matter?
Validate Visual Warning →AUDIBLE WARNING
Use this direction when people may not continuously face the warning point.
Will the warning remain noticeable during normal operation?
Validate Audible Warning →AUDIBLE + VISUAL
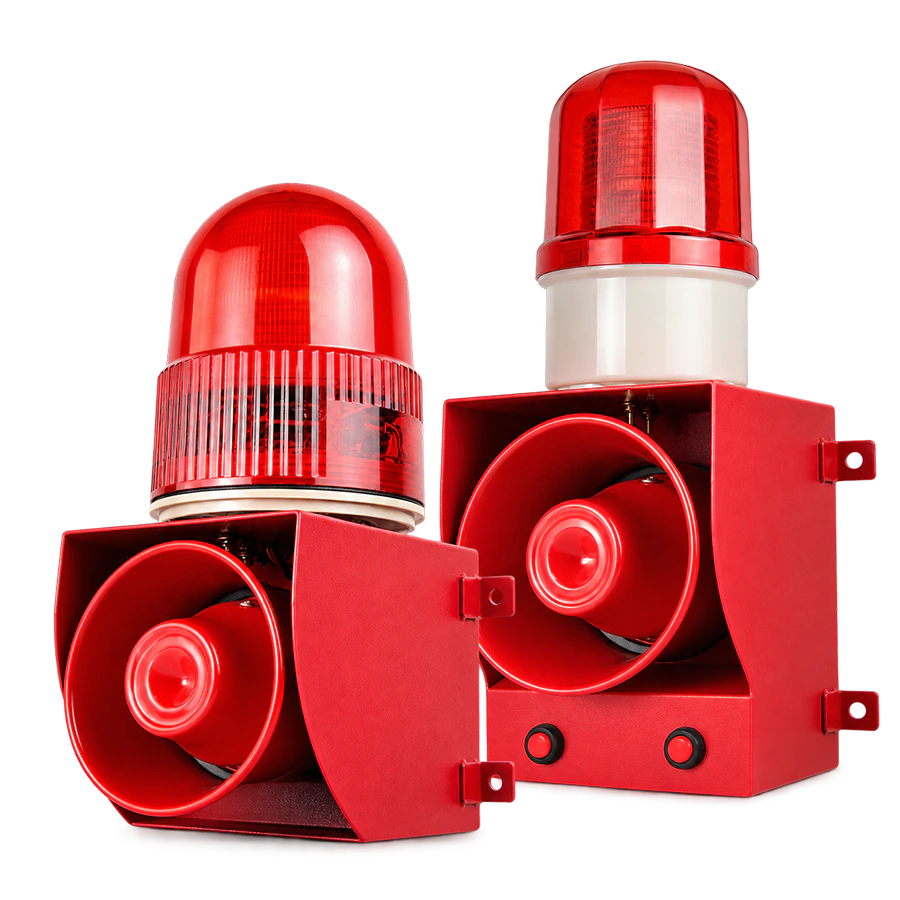
Sound can attract attention while the visible signal identifies or confirms the warning point.
Do both signal types add useful warning value at the same point?
Validate Combined Warning →TEMPORARY / MOVABLE WARNING
Use this direction for temporary work or changing work-zone locations.
Confirm whether noise, visibility and layout support the starting direction from the previous step.
VALIDATE VISUAL WARNING
Keep this direction when the warning remains visible from the positions that matter.
VALIDATE AUDIBLE WARNING
Keep this direction when sound is useful and the operating environment supports an audible warning.
VALIDATE AUDIBLE + VISUAL
Keep this direction when sound and visible indication each serve a useful purpose.
WORK AREA CHECK
These conditions can change the final warning and installation choice.
Check whether normal operating noise may affect audible warning.
Confirm that personnel can see the proposed warning position.
Check whether machinery, racks or walls block sightlines.
Consider how people normally face, move and work in the area.
Confirm whether the warning stays installed or follows temporary work.
There is no universal warning coverage distance. If coverage is critical, provide the available layout, dimensions or installation drawing for review.
Use the confirmed warning method and work-area conditions to continue with product-level comparison.
AUDIBLE WARNING
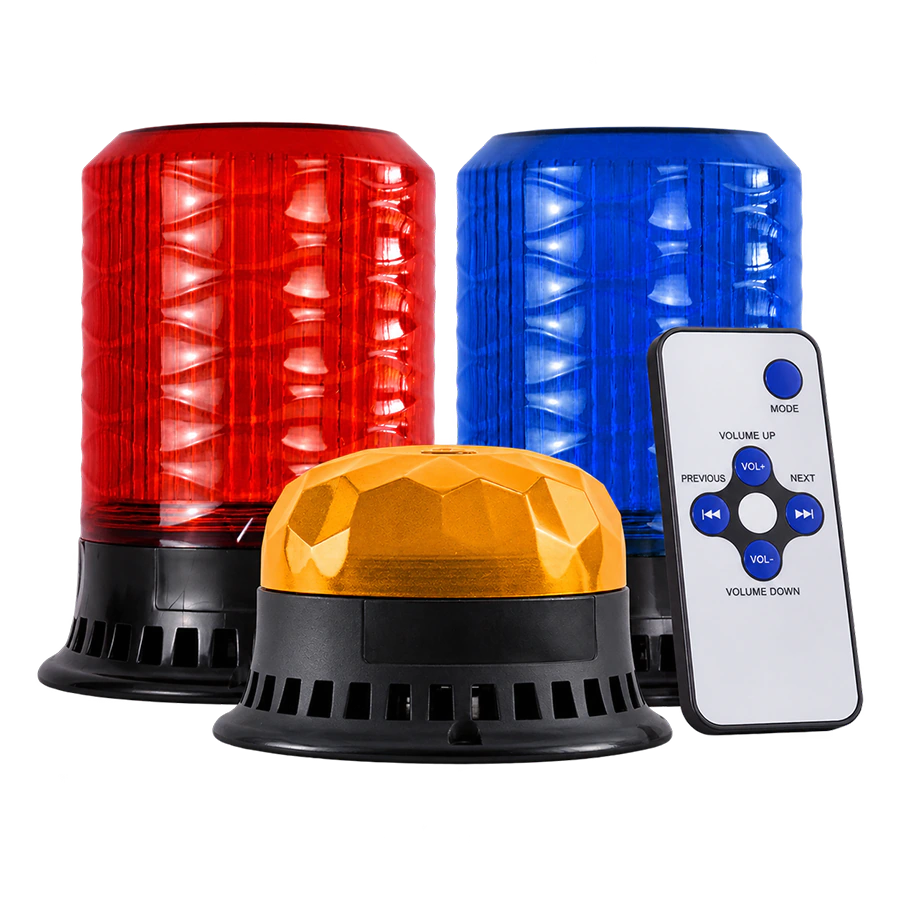
Industrial Audible Warning
Choose this route when sound is the primary way people need to notice the warning.
Compare Alarm Siren Series →
FIXED VISUAL WARNING
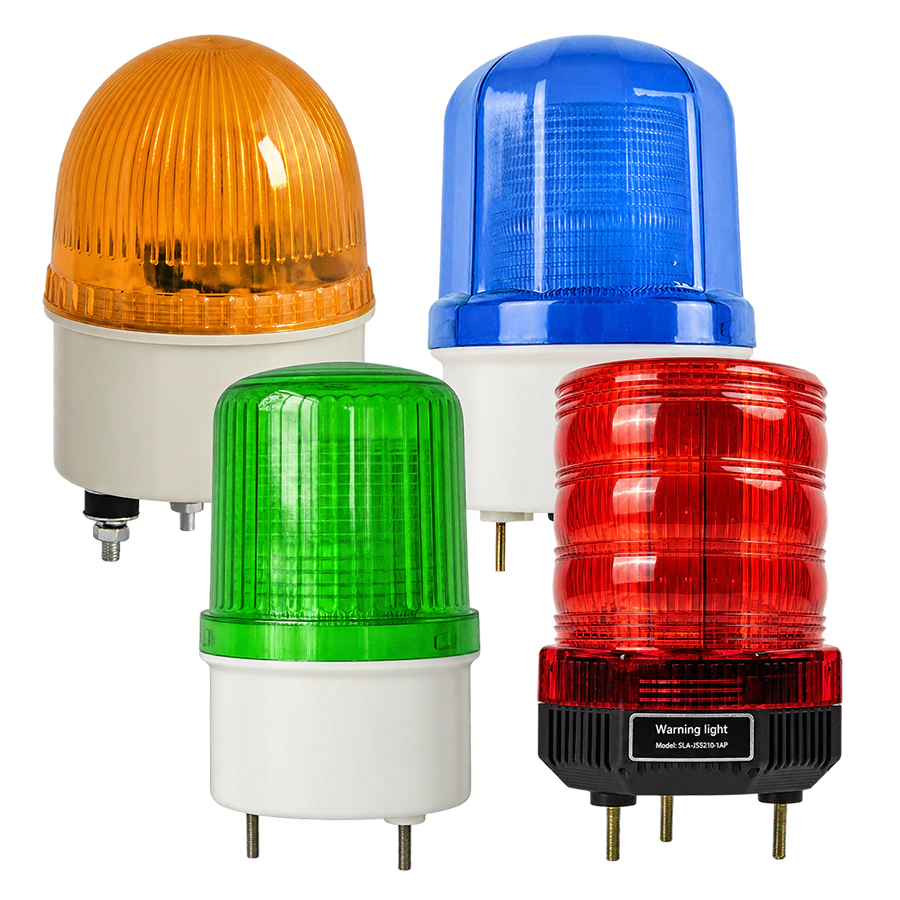
Industrial Beacon & Strobe Lights
Choose this route when a fixed visual warning can be seen reliably in the work area.
View Industrial Beacons →
AUDIBLE + VISUAL WARNING
Integrated Audible & Visual Warning
Choose this route when sound and visible indication both add value at one warning point.
View Integrated Beacon Sirens →
TEMPORARY / MOVABLE WARNING
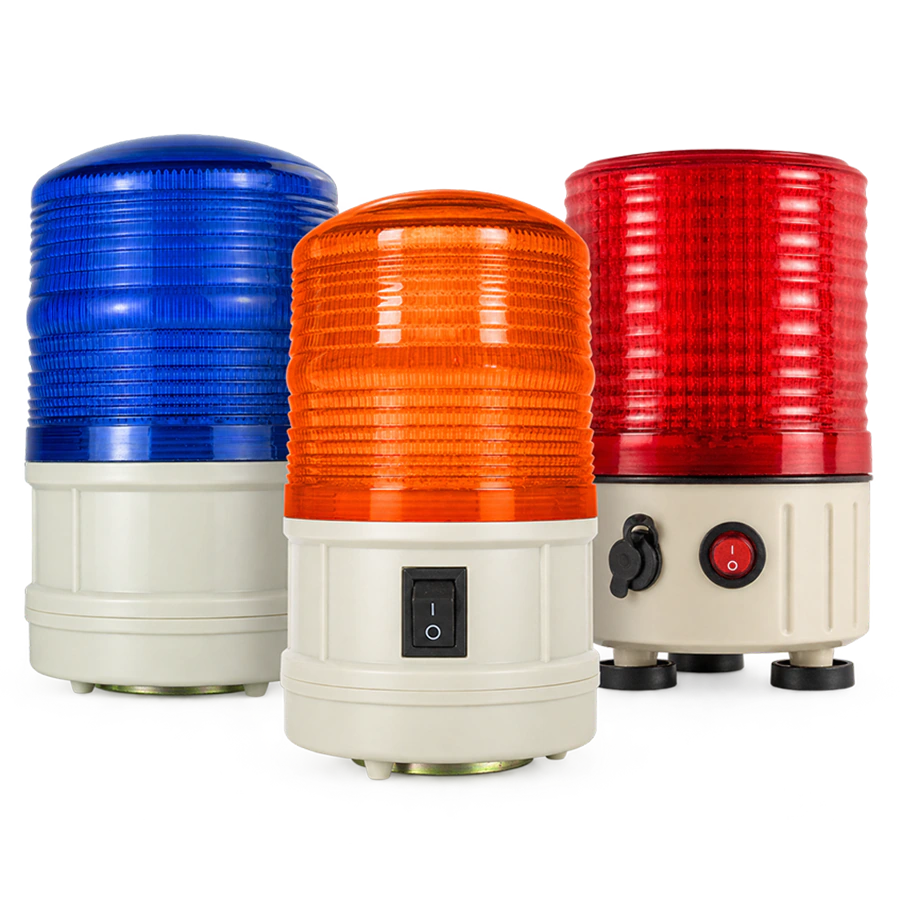
Portable & Self-Powered Beacon Lights
Choose this route when the warning point must move or serve temporary work.
View Portable Beacon Lights →These routes narrow the product family, not the final model. Confirm voltage, control, mounting and model-specific requirements before final selection.
Share who needs to notice the warning and any known noise, visibility or installation conditions. You do not need to choose the method first.
Yes. A layout, drawing or site photo can help explain work positions, warning locations and visible site conditions.
Coverage depends on layout, noise, visibility, obstructions, installation position and the selected product. Provide the layout or dimensions if coverage is critical.
DIFFERENT WARNING REQUIREMENT?
PRODUCT RECOMMENDATION
Share the work area, warning purpose and information already available. We can review the application and help narrow the suitable audible, visual or combined warning direction.
You do not need to know the exact product or final warning method. Provide the conditions already known and leave uncertain items as “Not Sure”.